Wednesday, November 30, 2011

WIP Wednesday #2 -Basket, Pillow, Painting

Quilted and Partially Bound (Binded?) - Basket of Joy
You can see more pics of the quilting here, but with the 4-day weekend I was able to finish the quilting (already halfway done as of last week), make the binding and attach it to the front via machine.

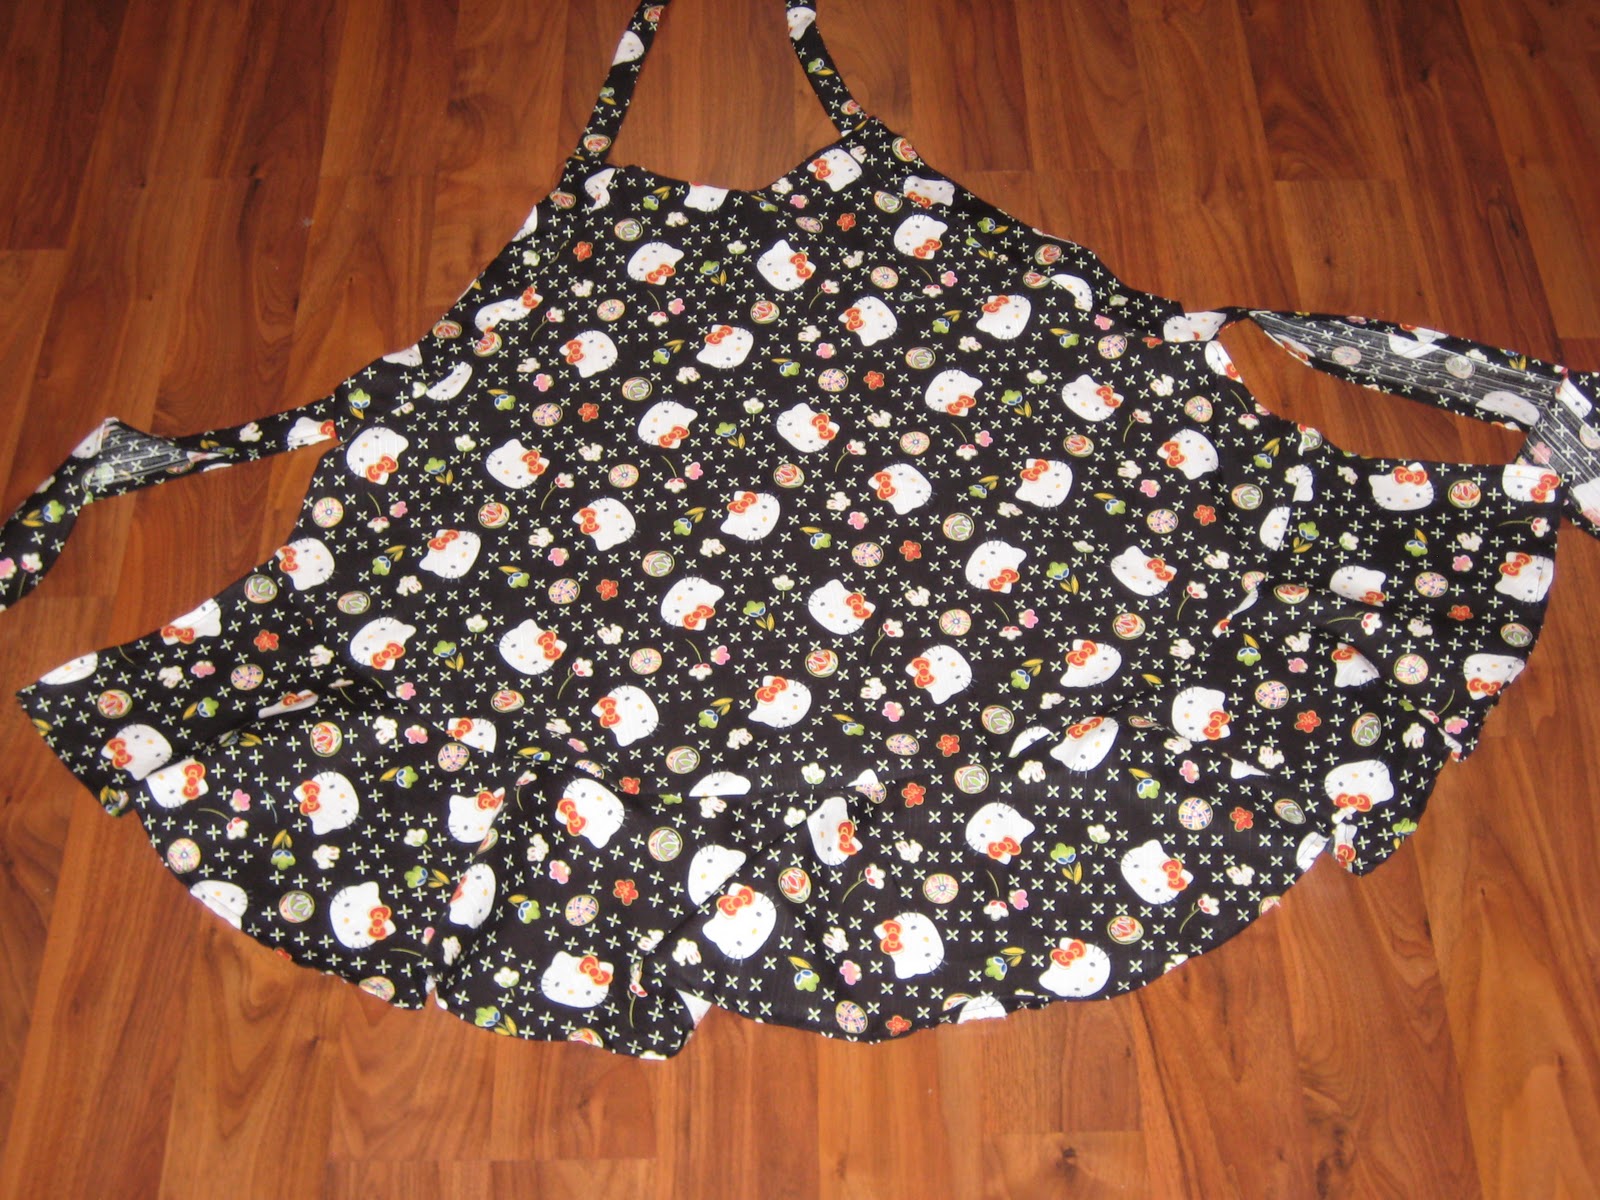
Bound with fabric from the Me & My Sisters Amelia collection
I have been furiously hand-stitching the back ever since.

Completed - Emerald City Oz Pillow
I almost forgot I had this! In the middle of a discussion on gifts, my Mother-In-Law came up, and my husband said "aren't you going to give her an Oz Pillow again?" ...Of course!


I have been dutifully sending Oz pillows for 3 holidays/birthdays now. You can see 3 of the 4 pillows I have sent here, the 4th I foolishly forgot to take pictures of.

 
This pillow was quilted at least a year ago (back during my walking foot only days) along with a number of its brethren, and then every gift giving occasion I pull one out, sew the two sides together and whip stitch the bottom.

Basted - Christmas I (Ready, Set, Snow)
 -pics forthcoming. I just finished this last night.

In Progress - Painting!
And, here's our big job for the holidays - for a long time my husband and I have wanted to paint the living room a brand new color, something that covers the years of spackle patchwork and discoloration of the white walls that happened before we got the place. Back in July we had to get new carpet installed, but we celebrated the event by going and purchasing paint for the project. Here's a somewhat-before picture (if you look closely, you can see my beloved husband edging the new white in):


And here's after! On the entryway and TV wall, anyway. The colors we chose are Swiss Coffee and Cranberry Zing, Glidden Paints from Home Depot. We plan on extending this paint all through our living room and the connecting kitchen.


It will be a lot of work, but it will be SO worth it. This is the room I usually quilt in!

And those are my big works in progress this Wednesday. Linking up with Freshly Pieced.


WIP Wednesday at Freshly Pieced


No Progress:
Planning
- Stockings 3 4 5 

Still Binding
-Charity Princesses

Monday, November 28, 2011

A Quilted Basket of Joy!

I finished quilting it this weekend! Basket of Joy is currently laying on my couch, binding machine-stitched to the front and partially hand-sewed on the back. I am really happy with the way it turned out - imperfect as they are my flowers led to a very pleasing overall effect, and when I drew out the "inward arcs" suggested by Token Asian Friend, I was very thrilled to see that they actually framed the quilt in a number of half (and three-quarters) circles.

Flowers and Half Circles, up close

Of course, once I started sewing my binding on, I realized that the margins on the edge of my quilt were too thin, and the binding was going to at least in part obscure the circle effect. So, with my quilt literally hanging off the machine (and maybe 5 feet of binding already stitched to the front) I took some pictures to record the neat effect of this design.

3/4 circles on the corner
Overall Pattern


Next time? More excess fabric on the sides.

Overall Pattern in Corner
Although I am sure that even without the (obvious) semicircle frame, my niece will love it. I can't wait to see her face when my brother-in-law gets back!

Made with love, imperfections and all

Saturday, November 26, 2011

Other Christmas Gifts

Here are some of the smaller projects I have elected to tackle for the holidays: most were done in a day, and made a great distraction from all that quilting.

Apron for friend K

OK, so this one was a little overdue. I think I recruited her to pick out her fabric... LAST Christmas? But, this year I finally sat down and DID it, so... here's a Hello Kitty Apron for a friend!


And a closeup of the adorable fabric, just because.


Like last time, the pattern came from Butterick 4945. I was very excited that this time around, I actually figured out how to attach the straps to the apron correctly: now I just have to decide if I want to go re-do the 2 previous aprons I made.

Pillowcases for Niece M

Last time we were back visiting my husband's family, my Sister-In-Law mentioned some Care Bear fabric that she had, that she had been storing for years and hadn't had any time to do anything with. I of course, said that if she had a project in mind, I'd be happy to take a stab at it for her. Without missing a beat, she said "Pillowcases!"


I got the pattern from my mom, who in turn got it from The Cotton Patch in CA. Isn't the bottom strip a perfect match? It was my husband of all people, who spotted it in the Batiks section of The Savage Quilter. These pillowcases are 100% french seams on the exposed edges, and it took me about a day a pillow.

If course, SOMEONE in the family had to immediately test them for cuddle-ability, and Elliott was more than willing to take one for the team.


Maybe I can put in a tag - 100% kitty certified? These pillowcases are in fact going to the same home as Care Bear Stare from 2010.

Stockings for friend M

And, it has been a time for matched accessories, because my friend M, brilliant purveyor of a flamingo-pink christmas tree and recipient of my Gnoma Claus Tree Skirt last year was due another birthday gift. I had about a fat quarter's worth of fabric left after the skirt last year, and that was *just* enough to make some more of my slightly-legendary stockings:


I don't think she has a fireplace, but I am sure they will get hung *somewhere* with care... she's promised me more pictures when they do.

And, that's about it: in an ideal world, I have 3 more stockings to do (2 brothers and a SIL), and oh, three quilts to finish by Christmas. We'll see what I can actually get done.

In the meantime, merry crafting!

Wednesday, November 23, 2011

WIP Wednesday - Christmas Traditions, Basket

Partially Pieced! - Christmas Traditions
All 54 base-level blocks of it are pieced. Gasp. Pant, wheeze. It was my first attempt at paper piecing and I'm really pleased with the results.


I also assembled one "test" Star just to see how it looked; in the future I have 5 more red stars and 16 cream half-stars to make. (see what the finished quilt will be)


And then it's on to learning to applique for the embellishments.

Partially Quilted! - Basket of Joy

Originally I was going to shelve this one 'till May when my Brother-in-Law returned from a deployment in Iraq since his daughter is the recipient, but then we got good news: he might be coming home early! So I dug this out of the "waiting to be quilted" drawer of my stash (it was already basted) and frantically started quilting it:


In case you can't tell from the photo, it's going pretty quickly, and I am probably about halfway done. I am using a design from Eva Larkin's Free Motion Quilting Made easy for the blocks,


and I still need to figure out what I want to do for the triangles around the edges. Any suggestions would be welcome


I am hoping to have this quilted and ready to for binding by the end of Thanksgiving weekend.


No Progress:
Planning
- Stockings 3 4 5 

Awaiting Quilting
-Christmas I

Still Binding
-Charity Princesses

Completed, need to post
- Pillowcases
- Stockings 1 2
- Apron

And there you have it, my first-ever WIP Wednesday. Special thanks to Freshly Pieced for organizing it!

WIP Wednesday at Freshly Pieced

Sunday, November 20, 2011

Still Piecing...

I was going to post for Work In Progress Wednesday over at Freshly Pieced, but time got away from me... apparently my time spend sewing and my time spent blogging are often inversely proportional - who knew? Anyway, paper piecing is still going pretty well. It's a long process, since the blocks are a lot more involved than anything I have ever made before, and any time I get tired I start making dumb errors, but the product is looking good!


I have to make 24 red blocks and 32 cream blocks. I have set a goal for myself of 5 blocks a night until I am done - at least with the paper piecing part.


Then I will probably shelve this project for other, more pressing Christmas Projects. So much to do so little time... Here's what's on the list.

Christmas To-Do
- Pillowcases
- Stockings 1 2 3 4 5
- Basketweave quilt
- Apron
- Christmas Quilt
- Christmas Quilt II

Tuesday, November 15, 2011

Proof of Concept - Paper piecing

Practice, Ahoy! This weekend, I spent a fair amount of time just... trying to make my "Christmas Traditions" blocks with scrap fabric. I started out with some leftovers from my Batik Beauty project and the pattern,


and quickly developed the following iterative learning process:

1) Make a block
2) Discover problem with block
3) Watch videos on youtube that somehow all manage NOT to encounter the problem I am having with my block
4) Call my mom, try to describe problem I have. Fail miserably.
5) Skype Mom to SHOW problem I cannot coherently describe. With visuals, she gets it! Yay!
6) Mom explains solution over Skype with words and pictures, but I am still confused.
7) Mom sends Youtube videos that actually address my problem.
8) Light clicks on!
9) I make another block. A new problem is encountered. See (1).

Seriously. This is my pattern:


And these are my tries: 


I am amazed people ever learned to quilt before there was technology. Of course, moms were probably much more on hand then, I guess. Anyways, I think I made a total of 9 practice blocks, which got me from "Ok, I'll do what I think the instructions say and see how bad it is" to "and I'lll just double check that all the dimensions I've selected for cutting will actually land me a block." Not bad for an entirely new technique.

I will say, paper piecing DOES give some pretty impressively accurate, stunning blocks. My corners came out looking excellent, and not having all the fudging in there DOES make things look sharp.

A final block, cut and all. Check out those corners!

Here are my lessons learned:

1) Paper piecing is no sport for stingy people! Trying to do things without at least 3/4" of excess fabric just led to mistakes in my blocks.
2) Batiks are both a blessing and a curse: during the intial piecing, they were a blessing because I didn't have to worry about right/wrong sides of the fabric. But once I felt good having practiced with them, I was in for an unpleasant surprise when some of my outer triangles only worked "right side down."
3) Trimming as you go is SO WORTH IT. If I do this again, I am caving on an add-a-quarter ruler.
4) When cutting triangles, don't eyeball the angle - use one of your pre-printed blocks as a guide.
5) As long as it covers the whole of the block, it doesn't have to look pretty - pretty is for once you've cut it.
6) When cutting triangles, don't eyeball the angle - use one of your pre-printed blocks as a guide.
7) Normally I like marathon quilting sessions, but with something like this, pacing is key. Get tired and you're guaranteed to make a cut you didn't mean to. That said, I haven't thrown the magazine out yet.

Next up? I cut my fabric and transfer these lessons to the actual quilt!


Saturday, November 12, 2011

I have a vision!

Saw this in the grocery store a couple of weeks ago, and realized I really, really wanted it:


I love the Christmas Traditions fabric, and the only reason I didn't pick it up earlier this year was because I didn't have a project for it. But this? Counts as a project. There are only 2 catches:

1) This quilt requires paper piecing - which I have never tried.
2) This quilt requires applique - which I have also never tried.

Applique has been on my "to try" list for a while, since I love the way it looks and it seems like the blanket stitching but might be up my "likes to doodle on fabric" alley. But foundation piecing? I'm normally pretty fly-by-the-seat-of-my-pants as quilters go so I'm a little less sold. Nonetheless, I really really liked this quilt pattern, and it gives me a chance to work with Fabric I love. So I bought the magazine.

And then my sewing machine went in for servicing. So I bought the fabric:


To the tune of about $200.

...It's always time to learn a new technique, right?

Friday, November 11, 2011

Moda Basketweave 2

So as I was saying in my last post the first thing I had to do to piece this quilt was sew the strips together. Rather than fuss with cutting 6 3/4" strips and then sewing them to make blocks, I elected to just sew the strip together and figure that with 14 unique blocks in 4 orientations, it would look pretty random anyway. As a reminder, here's what my strips looked like sewed:


First, I cut them into 6 3/4" squares:


And then I arranged them on the floor of what used to be my dance room - that part was actually a lot of fun.


And here's the final result. Yes, you can kind of tell which blocks were my favorite by which colors got used up first.


This quilt is six squares-on point across, by seven down for a final dimension of about 50" by 60".

But, when I did all this, one thing became obvious: remember my white sashing? Yeah, that wasn't going to work.


By now I'd figured out that this quilt was going to go to my youngest niece (who'll be almost 3 when she gets it) and so I wanted a decidedly feminine appearance. Plus the white already "pops" on the blocks as arranged, so why add to that? And finally, white on a kids' quilt is always a little dicey after the first juice spill anyway. So, back to the drawing board. Where by "drawing board" I mean "quilt store." I brought the extra length from all my blocks, arranged it on the table at The Savage Quilter, and then from all their purple Me and My Sister Fabrics, I chose this one, with the stripes behind it for binding:


From "Happy" and "Amelia" by Me & My Sister Designs

Leading to this as my final product:


Cute, huh? The backing is from the same fabric as the border triangles. I basted this quilt 2 weeks ago for my class (right before my sewing machine went in for service), but now given my large number of Christmas projects, I think it might languish in the "To Be Quilted" Drawer until at least January. I'm excited to quilt it, though!

And, I still need a good name. Any suggestions?

Wednesday, November 9, 2011

Moda Basketweave

Me and My Sister Designs is one of my favorite fabric designers. The Savage Quilter in OKC has a really HUGE selection of their stuff, and I always spend... far too long there drooling over the adorable fabrics in bright, bright colors. So really, it was just a matter of time before I caved on some cut goods by them from Etsy:

Me and My Sister Designs "Favorites" Jelly Roll by Moda
I mean, really. How can anyone resist the cuteness? Bright, cheery colors, Polka dots and flowers... it's like they had me in mind when they made it. I also caved on this gorgeous fabric from TSQ, to use for sashing and backing:

"Happy" and "Dilly Dally" by Me and My Sister

Of course... I did all this, and then I realized I didn't know what to DO with a Jelly Roll. I'd seen Jelly roll races, which are cute but a little simplistic for my tastes. I bought this pattern from Quilter's Corner in Midwest City:

Popsicle Sticks Jelly Roll Quilt pattern by Atkinson Designs

But eventually decided that what made it work so well in the picture was *probably* all the similarly textured Batiks. I looked at a lot of stuff (including books) that all seemed to complicated, or too simple. Finally, it was actually Google to the rescue: while Googling "free jelly roll quilt patterns" I saw and fell in love with this Basketweave design:

"Jelly Roll Quilt" from Fabric Freedom in the UK
It's simple enough that I don't need a pattern to see what's going on, and the diagonal adds an element of fun that makes it stand out from previous quilts I've done. I did manage to find a picture of it done NOT in Batiks and it also looked good, so... It appears I have a plan!

Next up was sewing the strips...

Monday, November 7, 2011

Princess Quilted

I finished quilting it! So far so good on the free motion capacities of my machine, the back looks good. 


Actually, this quilt was a blast to quilt - I traced out the princesses...


 and the Ribbon border...


 And I put loop-de-loops all around the outside of the panel, but left the blue border plain for better "pop." I also put hearts in the corners.


 The borders gave me some fits, trying to work around all the design elements. There are a couple of less-than-perfections, but I figure the recipient won't mind :-)

Also, it's pretty cool, I think you can actually make out the princesses from the back:


and the castle:


Binding is still an ongoing process, but I'm excited to do this again!